How permanent lighting installation works, from the measure to the app, with times
Four steps, and none of them involve you on a ladder. What each one looks like on a typical two-story in Clark County or the Portland suburbs, with the details to confirm before work begins:
1. The measure
Review the runs you want lit, including both slopes of each gable. The measure records fascia material, access, power and the proposed controller location. Compare channel samples in daylight before choosing a finish.
2. Design and scheduling
The written proposal should show the layout, package, spacing, mounting, access extras and total price. Confirm any required permits, installer credentials and HOA approval before agreeing to an installation date. Appointment times and lead times are confirmed directly.
3. Installation
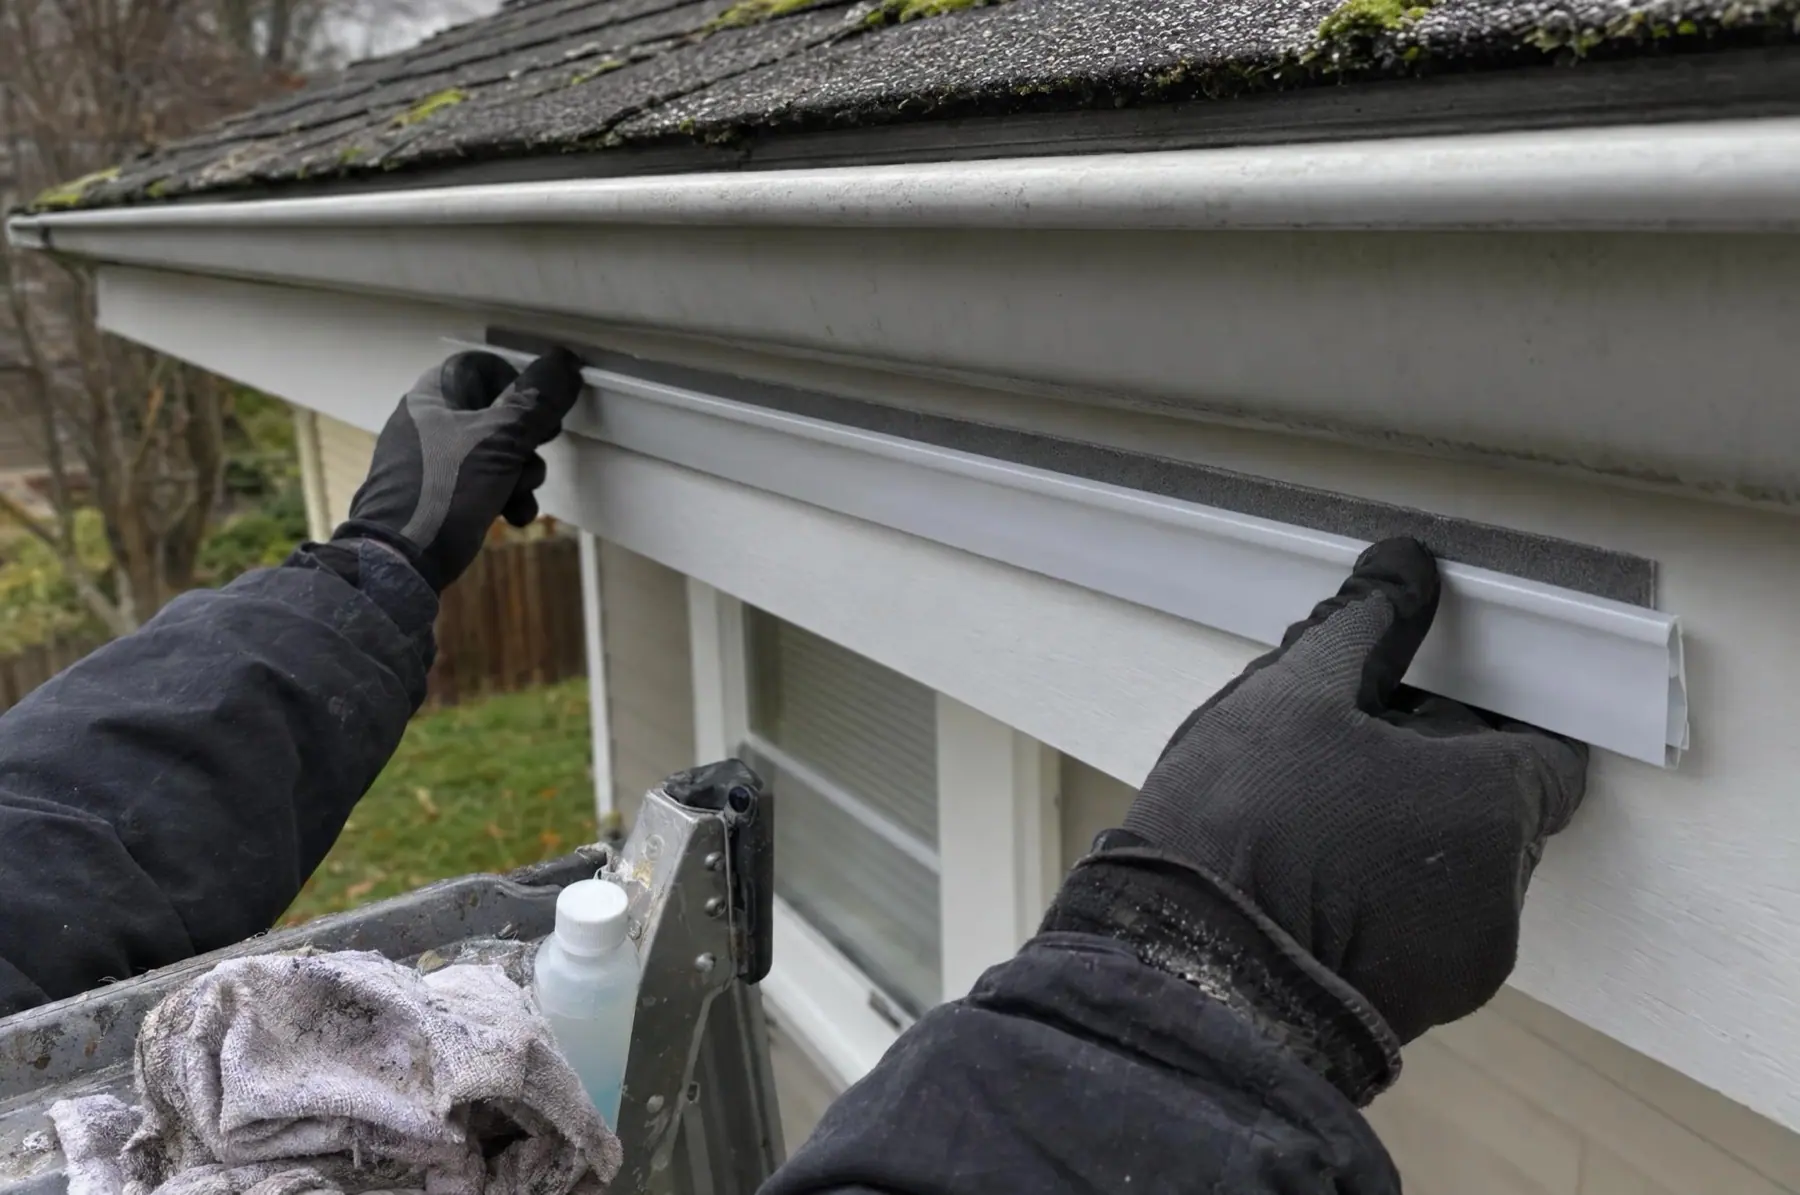
The mounting method must fit both the selected product and the house. Preparation, attachment, power and connections follow the manufacturer’s instructions and applicable requirements. Access, roofline complexity and weather determine the schedule.
4. App setup and walkthrough
At handover, review the controller connection, everyday setting, color scenes and schedule. Ask for the specific app instructions, written warranty terms and service contact for your installed system.
Weather and mounting conditions
Dry surfaces, temperature and curing time matter for adhesive mounting. The product instructions and conditions on your house determine the installation method and timing. Ask how a weather delay would affect your agreed date.
One moment…
Checking availability.
Packages mentioned
- Pebble Track — Small dome lights in a color-matched channel. Warm white for every evening, color for special occasions.
- Magnetic Pebble — Deep pebbles that stick to a steel drip edge. No track, no covers, no tape.
Priced by the foot · No hidden fees